It’s nice to have a high pixel density on the Surface Laptop 3 display that offers a better viewing experience when browsing the web, watching movies, and working with office tasks. However, there are some situations where you might need to lower the screen resolution, like playing games, connecting multiple monitors with different pixel densities, or improving performance and battery life.
We previously posted a guide on how to set custom resolutions on Microsoft Surface since Microsoft didn’t offer any 3:2 display ratio resolutions other than the native resolution of the display. However, with recent Windows and Surface updates, my Surface Laptop 3 now has more than 3:2 display ratio resolutions I can set without any tools or tweaks.
Table of Contents
What are the new 3:2 Resolutions on Surface Laptop 3?
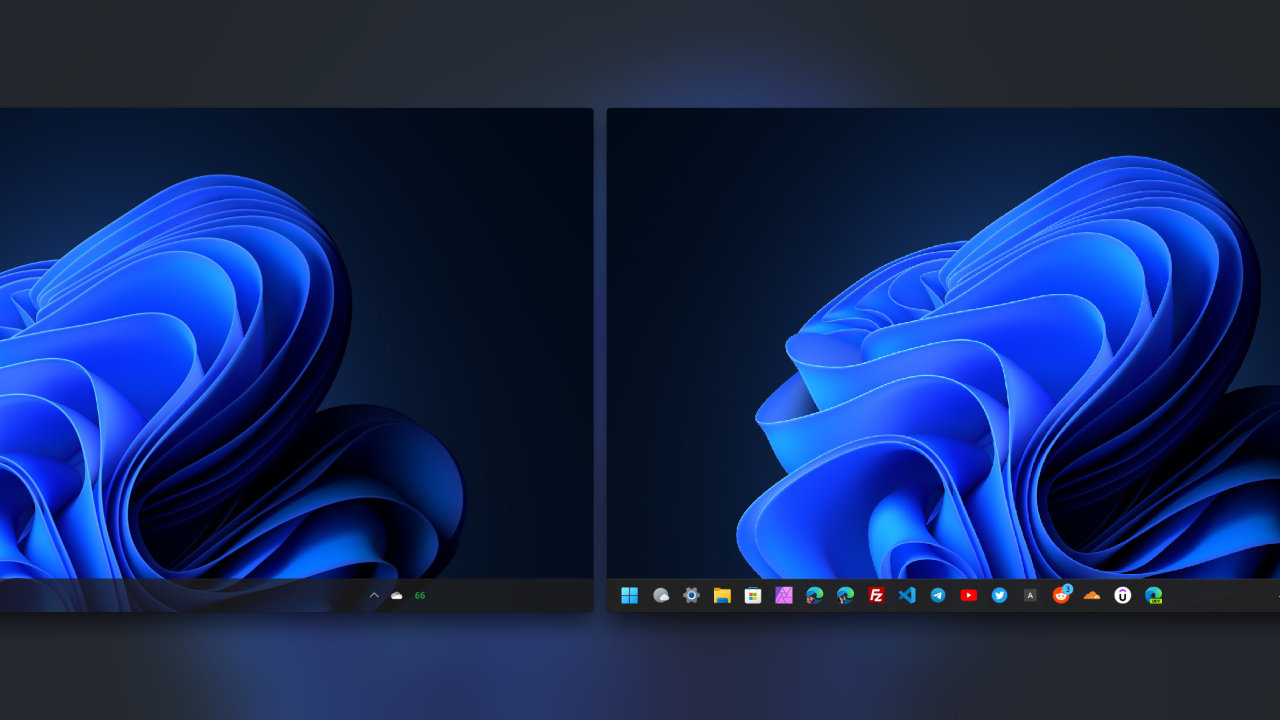
From what I tested, here are the resolutions that are properly designed to fully cover the Surface Laptop 3 display:
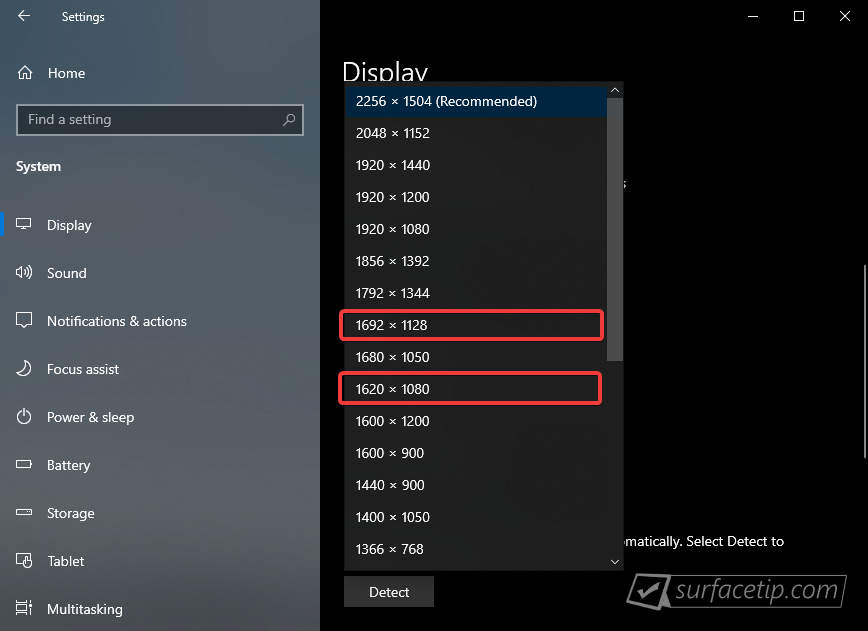
- 2256 x 1504 (Native Resolution)Ideally for watching movies, browsing the web, and graphics design.
- 1692 x 1128Ideally, for more screen real estate and multitasking with 100% display scaling.
- 1620 x 1080 (1080p)Ideally for pairing with 1080p external monitor.
- 1128 x 752Ideally, it maximizes gaming performance with a minimum screen resolution while taking advantage of the full 3:2 aspect ratio display.
All the above resolutions have the same 1.5 results when you divide the number of horizontal pixels by the number of vertical pixels. They perfectly cover your Surface Laptop 3 display without letterboxing.
How to Set a New 3:2 Resolution on Surface Laptop 3?
To change the screen resolution on your Surface Laptop 3 to a new 3:2 resolution:
- Open Windows Settings
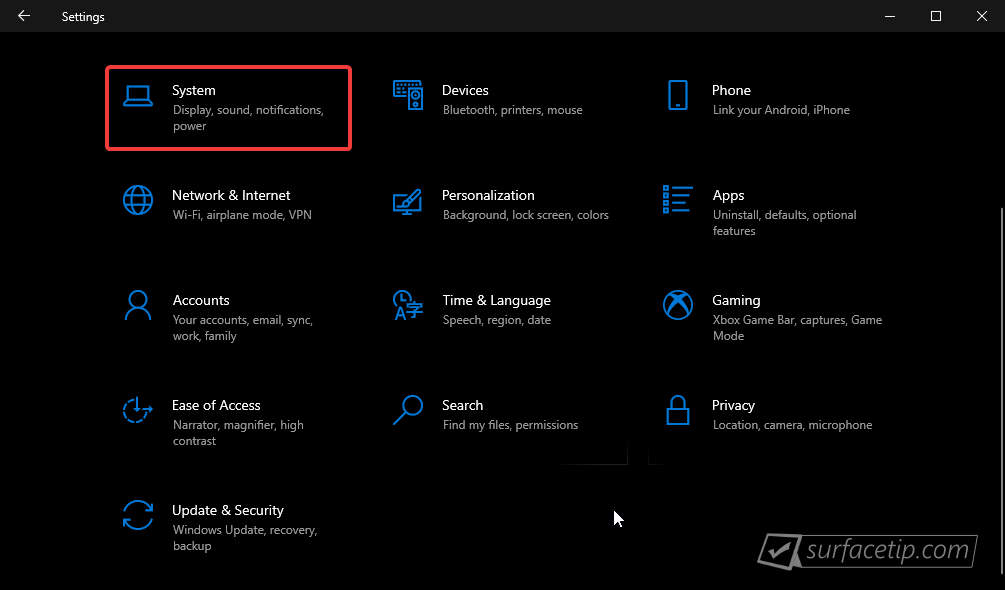
First, you need to access Windows Settings by going to Start and clicking the Gear icon (or by using Win + I shortcut key). - Go to System
In Windows Settings, select “System“.

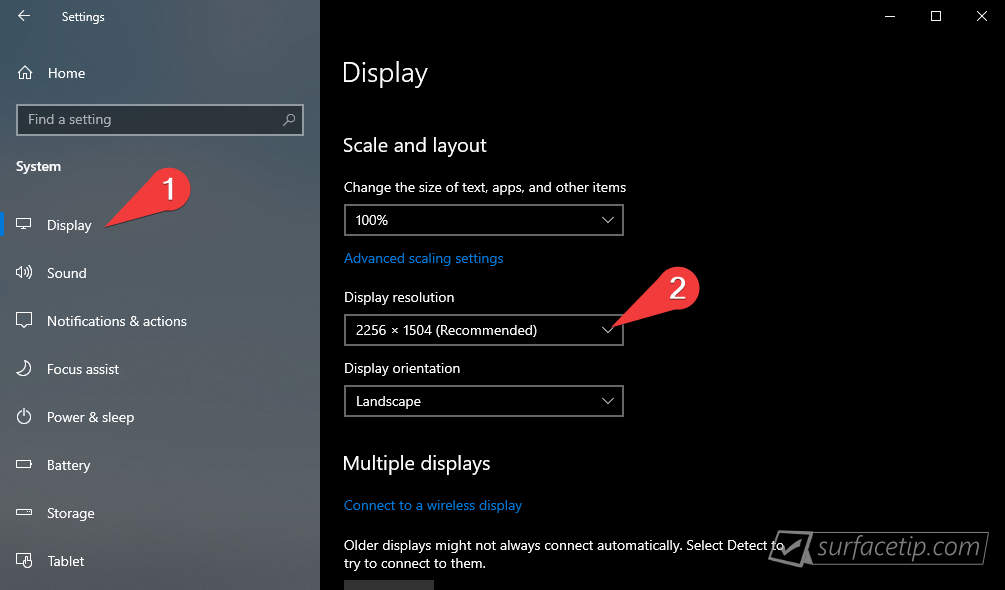
- Go to Display > Display Resolution
Under the “Display resolution”, select the drop-down menu to select a new resolution.
- Select one of the resolutions we listed above

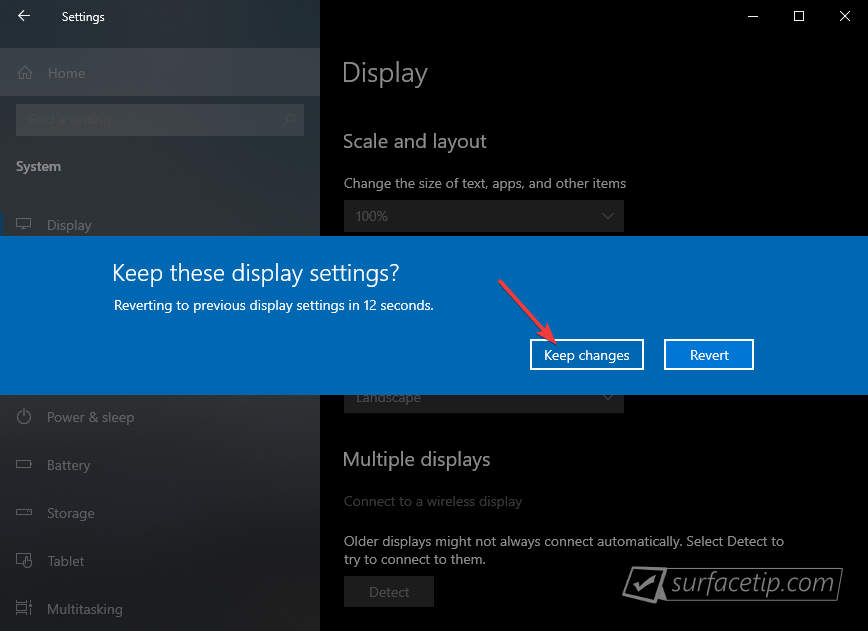
- Click the Keep Changes button
Click the “Keep changes” button if you like the selected resolution, or click the “Revert” to return to the previous resolution.
That’s what I found on my Microsoft Surface Laptop 3, and it’s not mentioned in the Surface Laptop 3 Update history. So, if you have other Surface models with multiple 3:2 resolutions, as mentioned in this article, please let me know in the comments section below.
More Surface Laptop 3 Tips and Tricks
Here are all related Surface Laptop 3 tips & tricks you should know:
- How to Boot Surface Laptop from a USB Drive
- How to claim Surface exclusive offers for Surface devices
- How to download and install the latest Surface Laptop 3 drivers and firmware updates
- How to Download Surface Laptop 3 and Laptop 4 Service Manual
- How to download the official Surface Laptop 3 recovery image
- How to fix brightness issue on Surface Laptop 3?
- How to Properly Shut Down a Surface Laptop
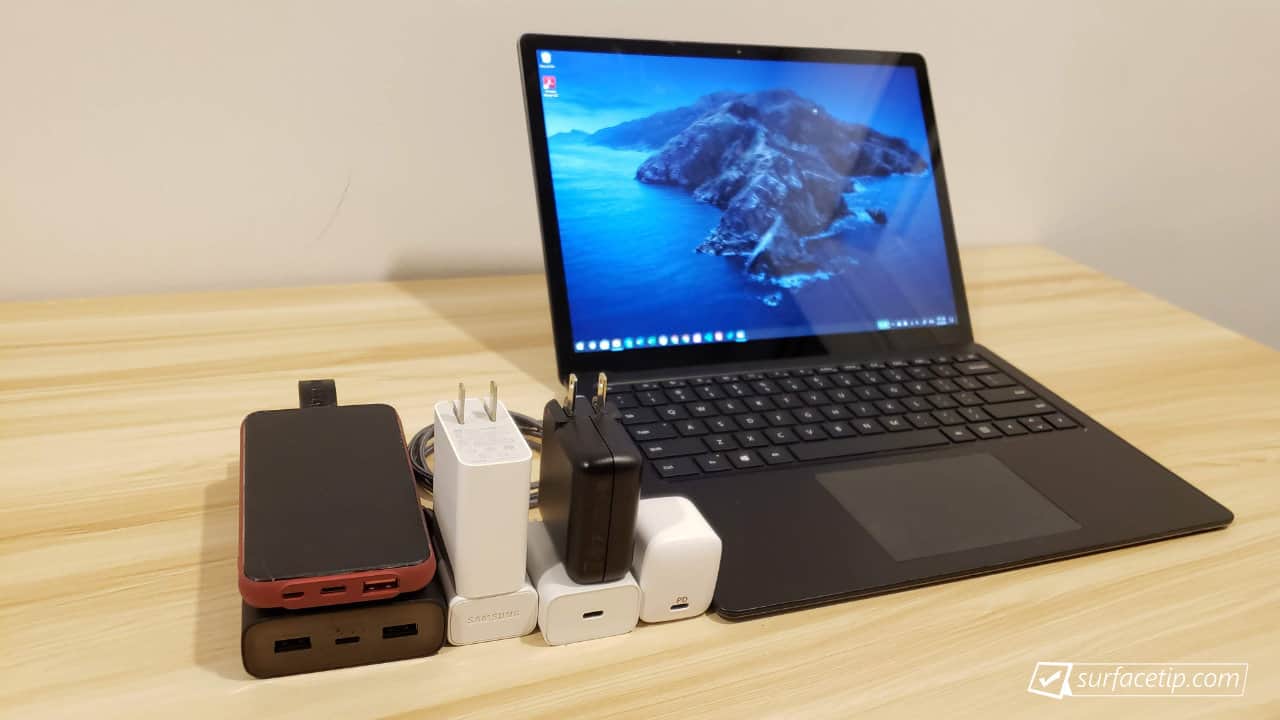
- Surface Laptop USB-C Charging: We tested all chargers we have
Surface Laptop 3 Common Questions
Here are all frequently asked questions about Surface Laptop 3:
- Can you add RAM to Surface Laptop 3?
- Can you charge Surface Laptop 3 via USB-C?
- Can you upgrade Surface Laptop 3 SSD?
- Does Surface Laptop 3 have Thunderbolt 3 port?
- How to charge Surface Laptop 3 via USB-C?
- How to disable secure boot on Microsoft Surface Laptop 3
- Is Surface Laptop 3 keyboard backlit?
- What’s ports on Surface Laptop 3?


COMMENTS
Let us know what you think!
We appreciate hearing your thoughts, questions, and ideas about “Surface Laptop 3 Now Supports More 3:2 Aspect Ratio Resolutions”.