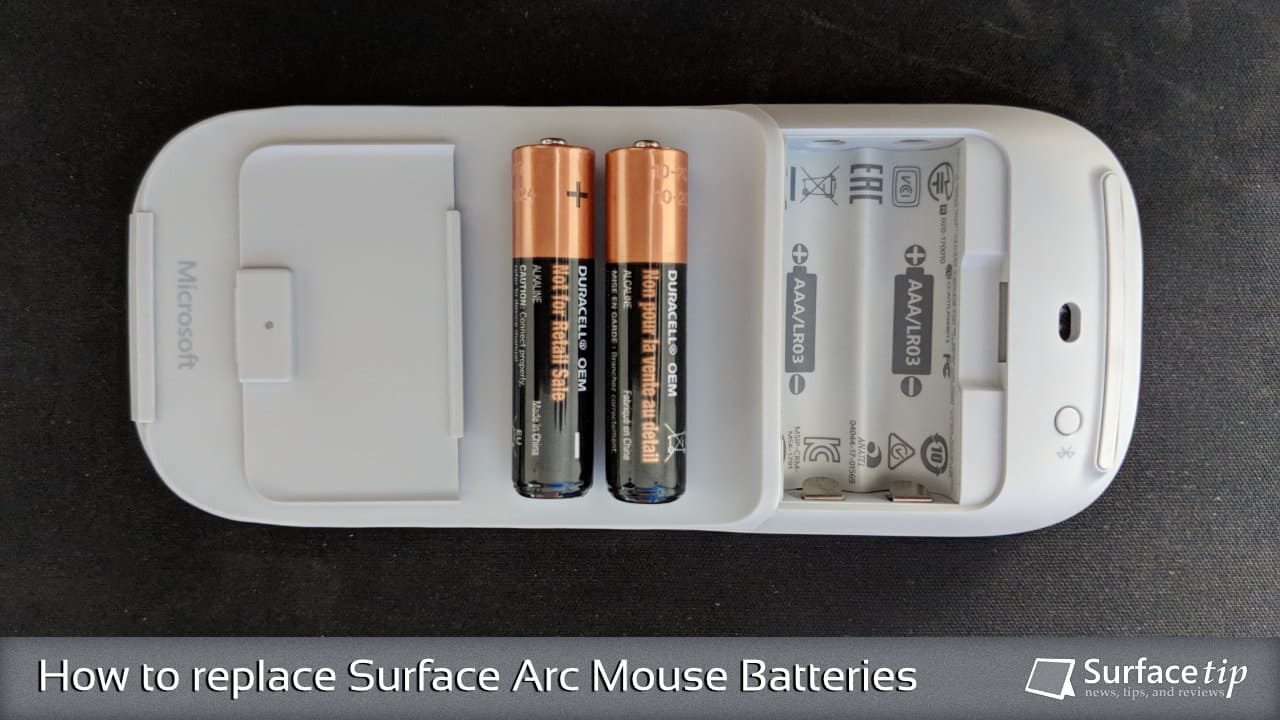
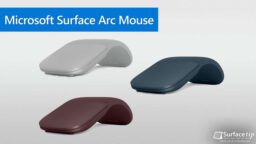
The Surface Arc Mouse is the latest and the most portable mouse ever created by Microsoft. It was introduced at the same time the Microsoft Surface Laptop was launched on May 2nd, 2017. It’s a premium mouse that is very slim and light and available in three colors: light gray, burgundy, and cobalt blue.
This mouse is powered by two replaceable AAA batteries lasting up to 9 months of normal usage. And today we will show you how to install or replace the Surface Arc Mouse batteries.
How to replace Surface Arc Mouse Battery
It’s effortless to install or replace batteries on the Surface Arc Mouse. To do so:
- On the bottom of the mouse, push the ejector button and pull out the battery cover.

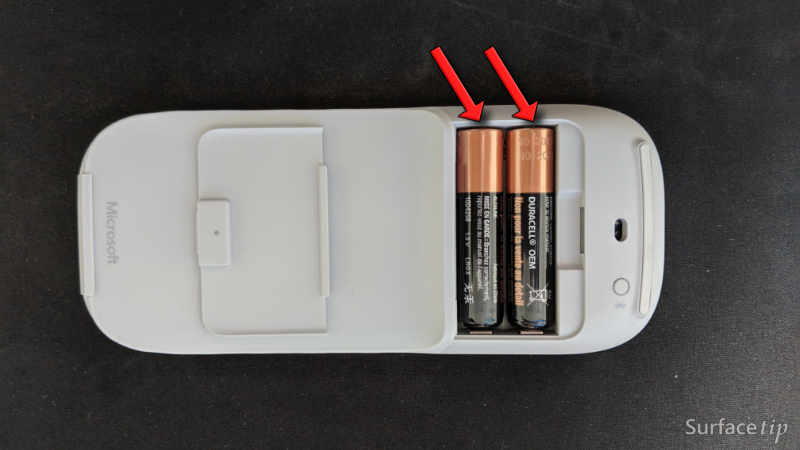
- Push and pop out the old batteries with your fingernail or a flat screwdriver.
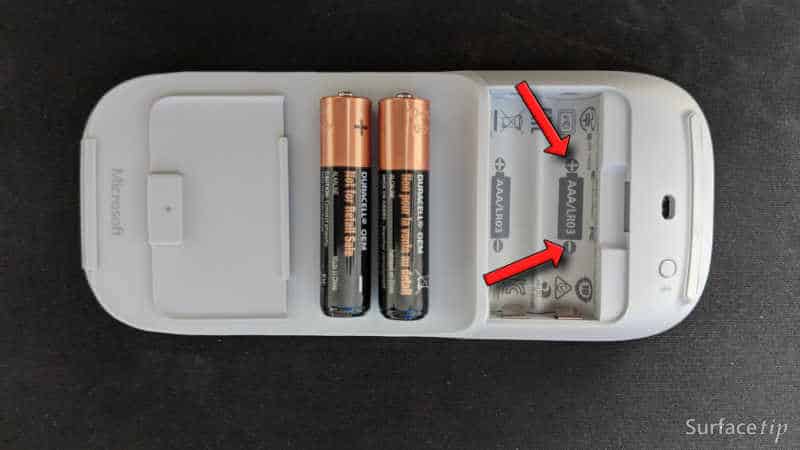
- Pop in the new batteries in the same direction as shown on the battery slot indicator.
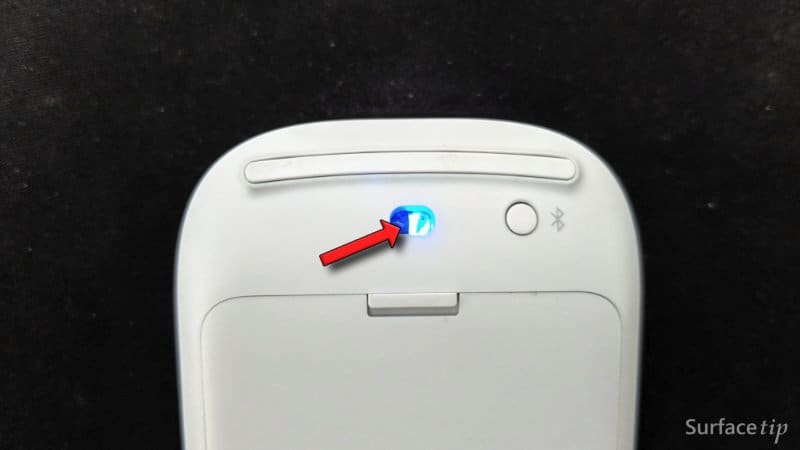
- Place the battery’s cover back in, and you’re done. To ensure the batteries are correctly installed, turn on the mouse and make sure the mouse-pointing laser is lit up.

Now, the batteries are correctly installed and ready to work or pair with your computer. I hope it can be helpful, and if you have any questions or problems with the procedures detailed in this tutorial, please leave a comment below.
Latest Surface Arc Mouse Tips & Tricks
Here are all related Surface Arc Mouse tips & tricks topics you might want to know:
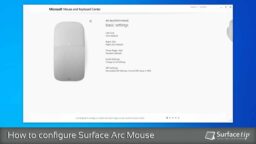
How to configure Surface Arc Mouse with Microsoft Mouse and Keyboard Center
Does Surface Arc Mouse work well for you? Here is how to configure or assign Surface Arc Mouse's DPI value settings, left click, right-click, three-finger click, and scrolling behavior.
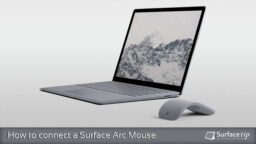
How to connect a Surface Arc Mouse to your Computer
Do you have a new Surface Arc Mouse and don't know how to connect? Here, we have an easy guide on how to connect the Surface Arc Mouse.
Microsoft Surface Arc Mouse Specs
The perfect companion for your Surface, featuring a slim, light, and ready to travel. It comes with improvements including both scrolling directions and multiple colors. Introducing by Microsoft on May 2nd, 2017.


COMMENTS
Let us know what you think!
We appreciate hearing your thoughts, questions, and ideas about “How to replace Surface Arc Mouse Batteries”.