Asset tagging is a process of tagging or labeling an asset so you can easily keep track of its location in an organization and to whom it belongs.
There are two ways to apply an asset tag to a Surface device. Physically, you must print an asset label with an asset number and stick it on the device. Digitally, Microsoft has provided an administrative tool administrators can use to assign an asset tag or number to Microsoft Surface devices.
This article will show you how to download the tool to assign an asset tag on supported Microsoft Surface devices.
Table of Contents
Surface devices that support asset tagging
The asset tag feature is available on all devices supporting Surface UEFI and having UEFI firmware version 3.9.150.0 or later. That includes:
- Surface 3
- Surface Pro 3 or later
- Surface Pro X (all gens)
- Surface Go (all gens)
- Surface Book (all gens)
- Surface Laptop (all gens)
- Surface Laptop Go (all gens)
- Surface Laptop Studio (all gens)
- Surface Studio (all gens)
How to download the Surface Asset Tag tool
The Surface Asset Tag tool is available for download from the Microsoft Download Center. You can use the following links to download:
- Download Surface Tools for IT from the Official Microsoft Download Center
- Surface Asset Tag.zip direct download link
To download from the Microsoft Download Center:
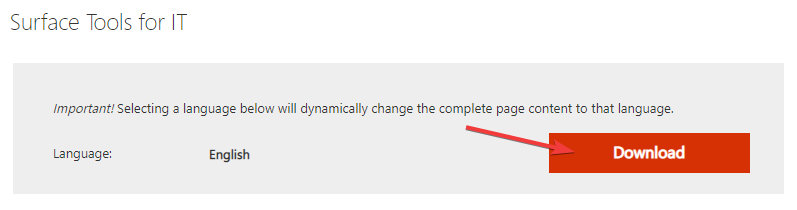
- Go to the Surface Tools for IT download page and click Download.

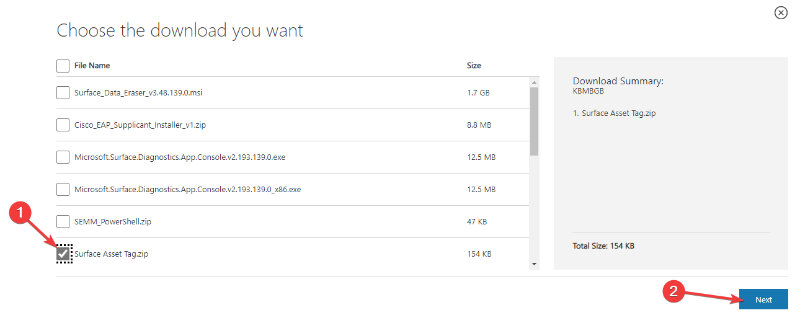
- Check on the “Surface Asset Tag.zip” check box and click the Next button to download the tool.

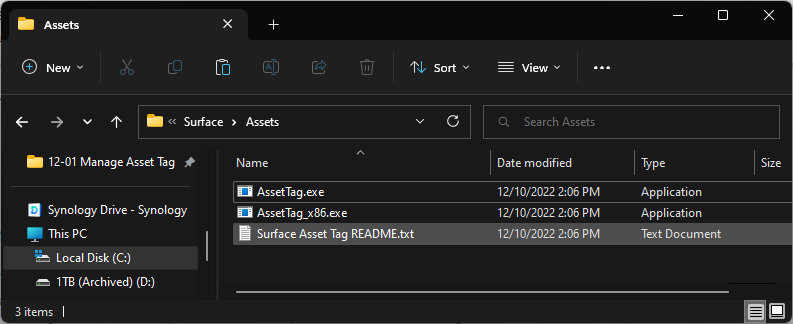
- When it’s finished downloading, extract and copy it to a preferred location. In this case, I copy it to the “C:\Surface\Assets” folder.

How to use the Surface Asset Tag tool
To start using the tool:
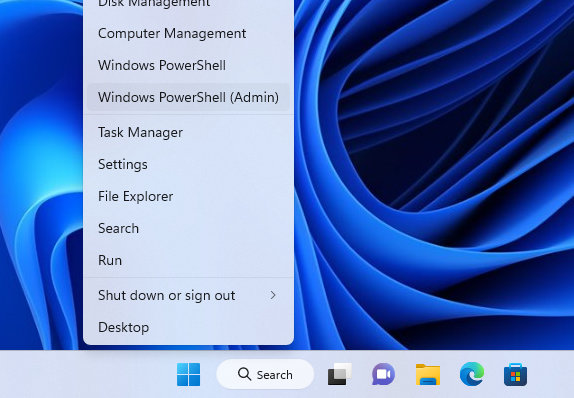
Right-click on the Start menu and select Windows PowerShell (Admin), Terminal (Admin), or Command Prompt (Admin).
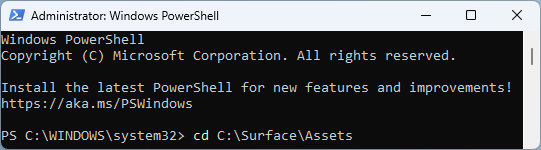
Change the current directory to where you saved the tool. In this case, type “cd C:\Surface\Assets”
1. Checking the current asset tag on a Microsoft Surface device
To retrieve the current asset tag assigned to your Surface device, use the following command:
.\AssetTag.exe -g
Here are the results you can expect to see:


2. Assigning an asset tag to a Microsoft Surface device
To assign or set an asset tag to a Surface device, use the following command:
.\AssetTag.exe -s ASSET_TAG
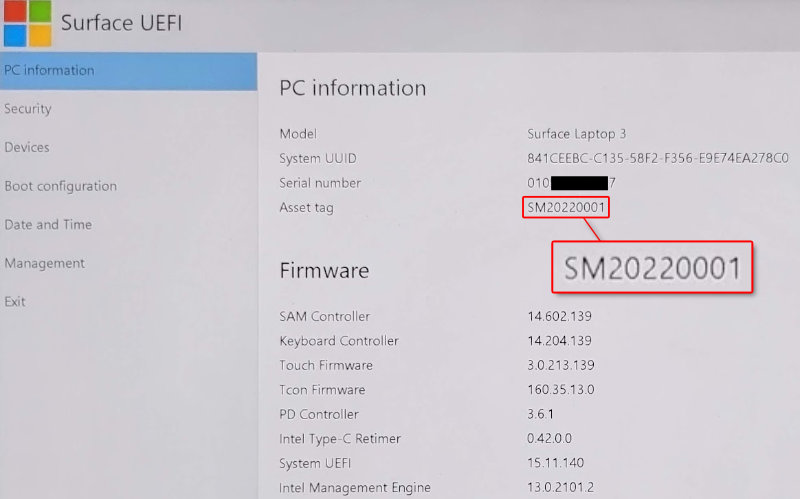
We will assign an asset tag to a Surface Laptop 3 as SM20220001 for demonstration.
.\AssetTag.exe -s SM20220001

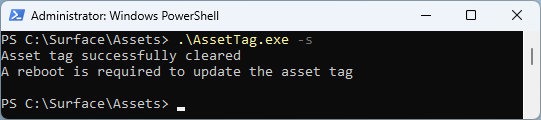
3. Clearing asset tag from a Microsoft Surface device
To clear or remove an asset tag from a Surface device, use the following command:
.\AssetTag.exe -s
How to check Asset Tag via Surface UEFI/BIOS
To check the asset tag number on a Surface device via Surface UEFI, use the following steps:
- Open Windows Settings
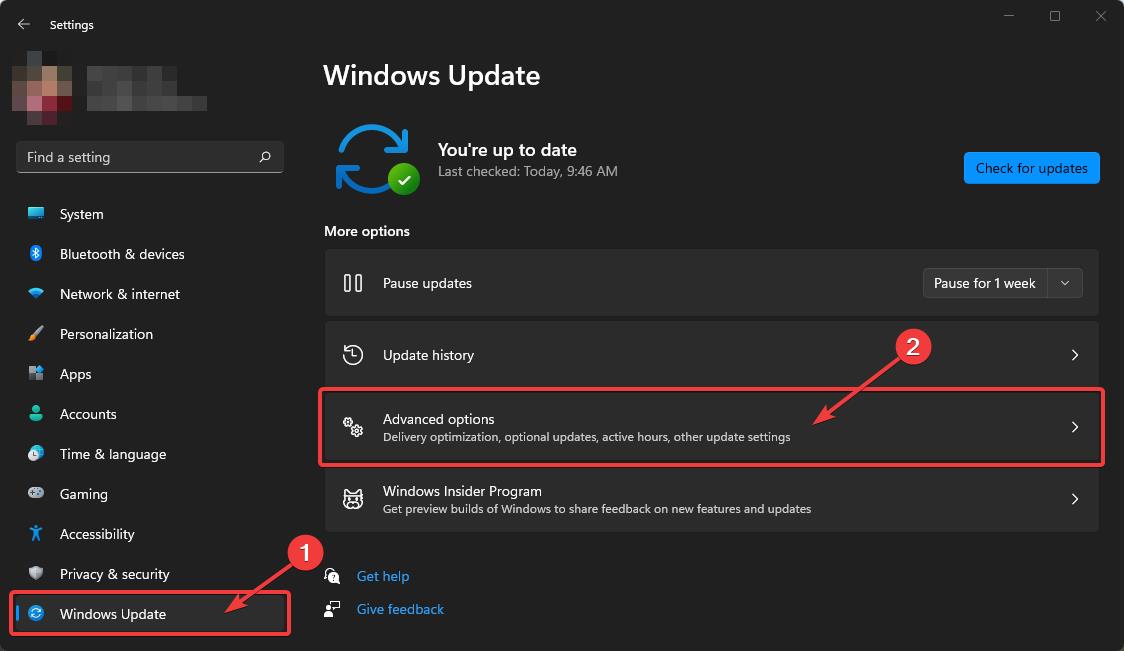
First, you need to access Windows Settings by going to Start and opening the Settings app with the gear icon (or by using Win + I shortcut key). - Go to Windows Updates > Advanced options.
On the left pane of the settings, select “Windows Updates.” Then select “Advanced options” from the more options section.

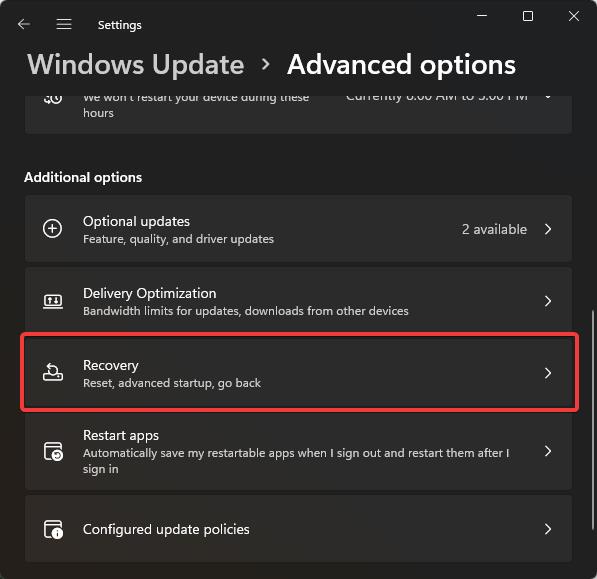
- Select the “Recovery” option
Under the “Additional options,” and select “Recovery.”

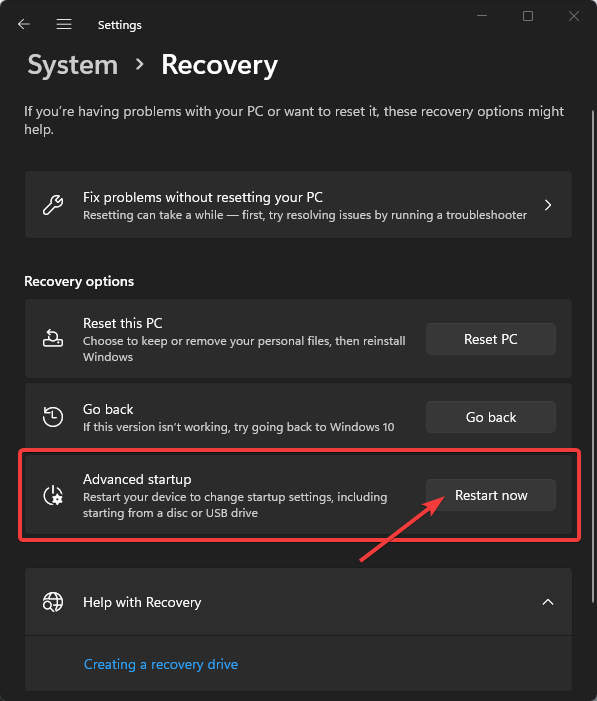
- Restart your Surface Laptop in “Advanced Startup” mode.
Under recovery options, click the “Restart now” button to restart your Surface Laptop in advanced startup mode, allowing you to change startup settings.

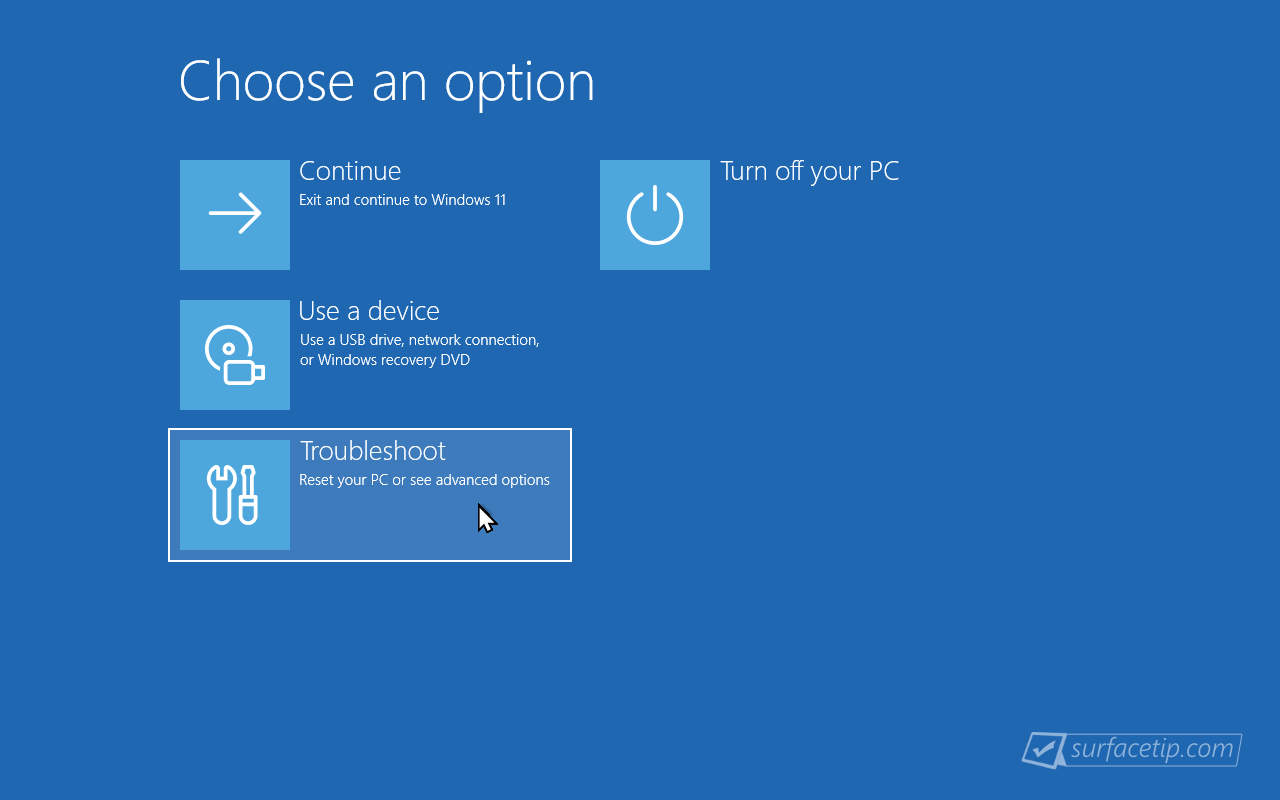
- Select “Troubleshoot”
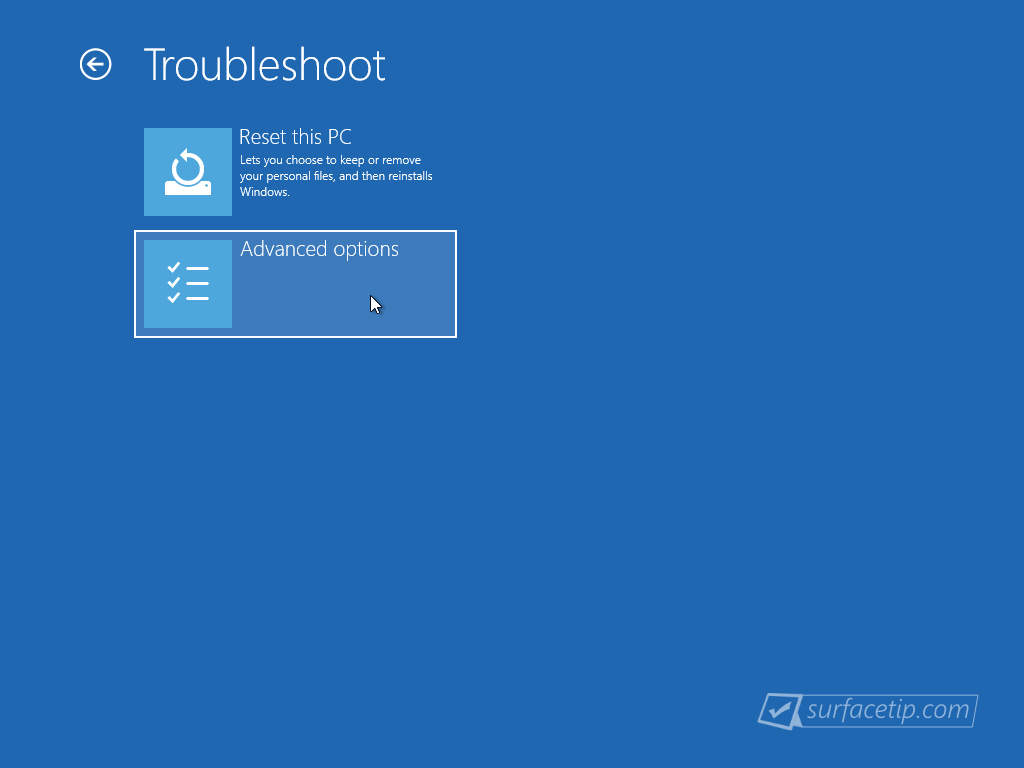
After restarting your Surface, you will see a blue screen with the following options. Select “Troubleshoot”.

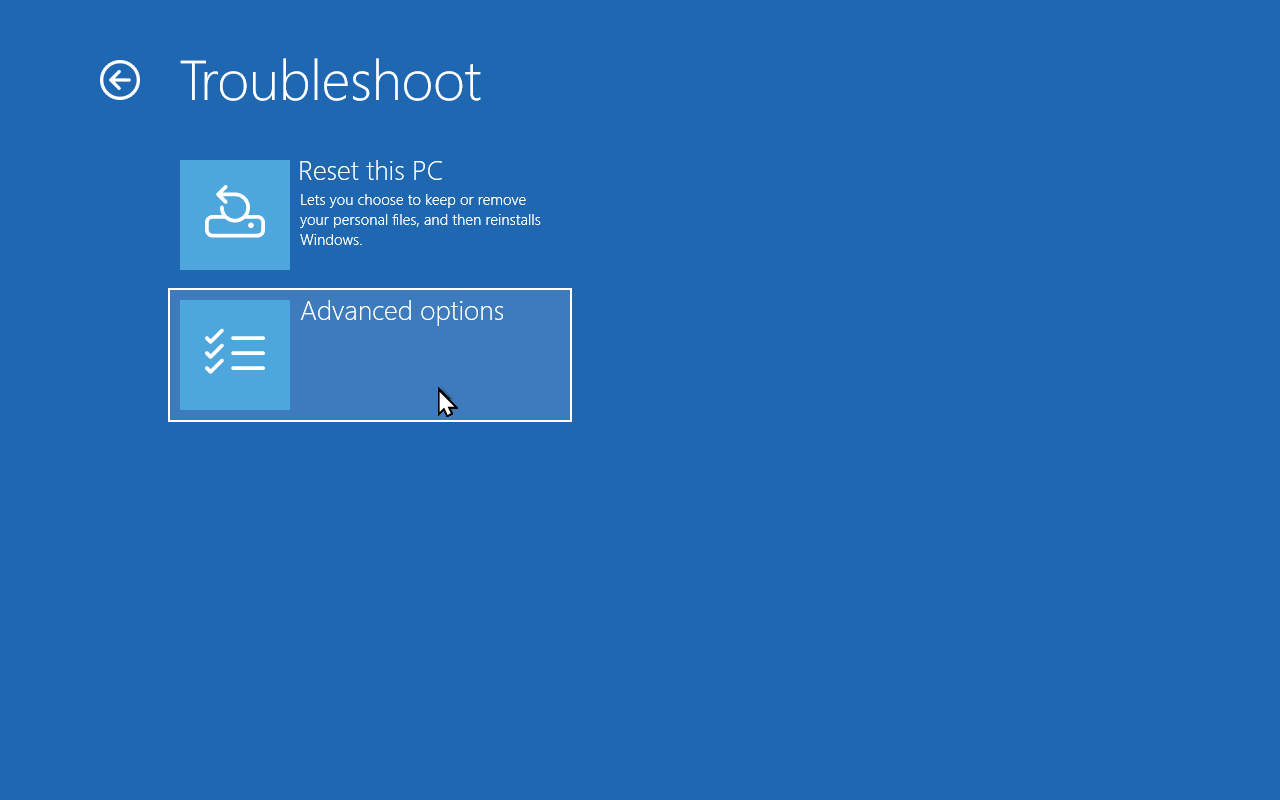
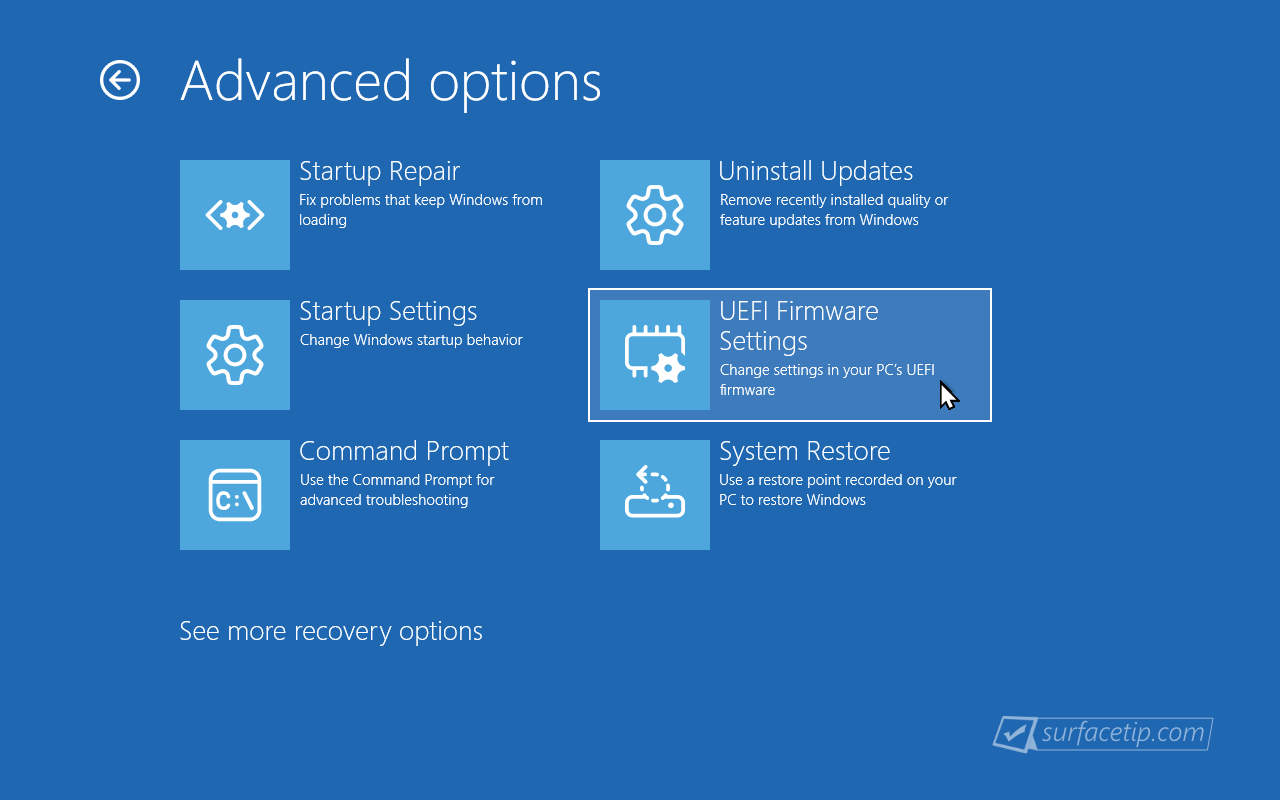
- Select “Advanced options”.
- Select “UEFI Firmware Settings”.
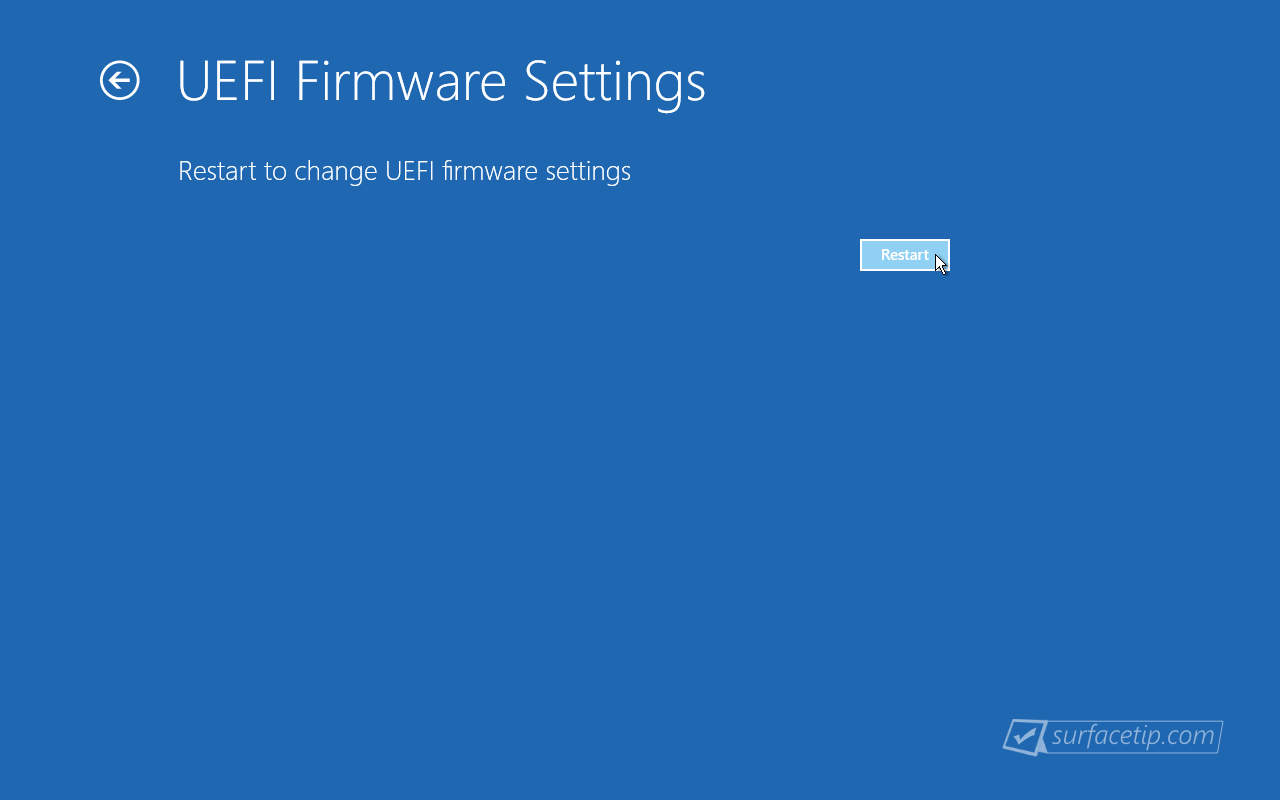
- Select “Restart” to restart your Surface directly into the UEFI Firmware Settings.

- Open Windows Settings
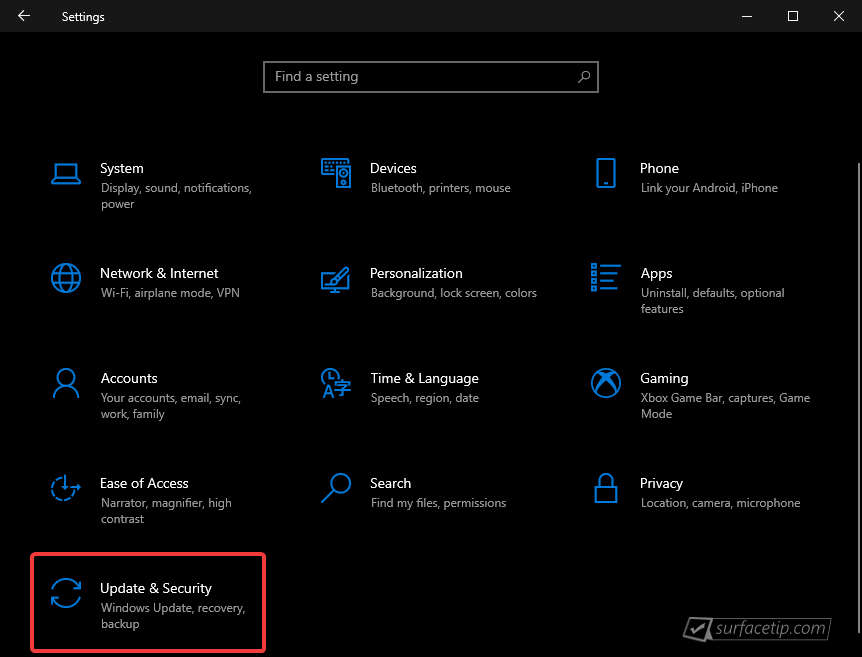
First, you need to access Windows Settings by going to Start and clicking the Gear icon (or by using Win + I shortcut key). - Go to Update & Security
In Windows Settings, select “Update & Security“.

- Go to Recovery
On the left side of the settings, select Recovery.
- Restart your Surface in Advanced Startup
Under the “Advanced startup” section, click “Restart now” to restart your Surface in an advanced startup mode.
- Select “Troubleshoot”
After restarting your Surface, you will see a blue screen with the following options. Select “Troubleshooting”.
- Select “Advanced options”.

- Select “UEFI Firmware Settings”.
- Select “Restart” to restart your Surface directly into the UEFI Firmware Settings.


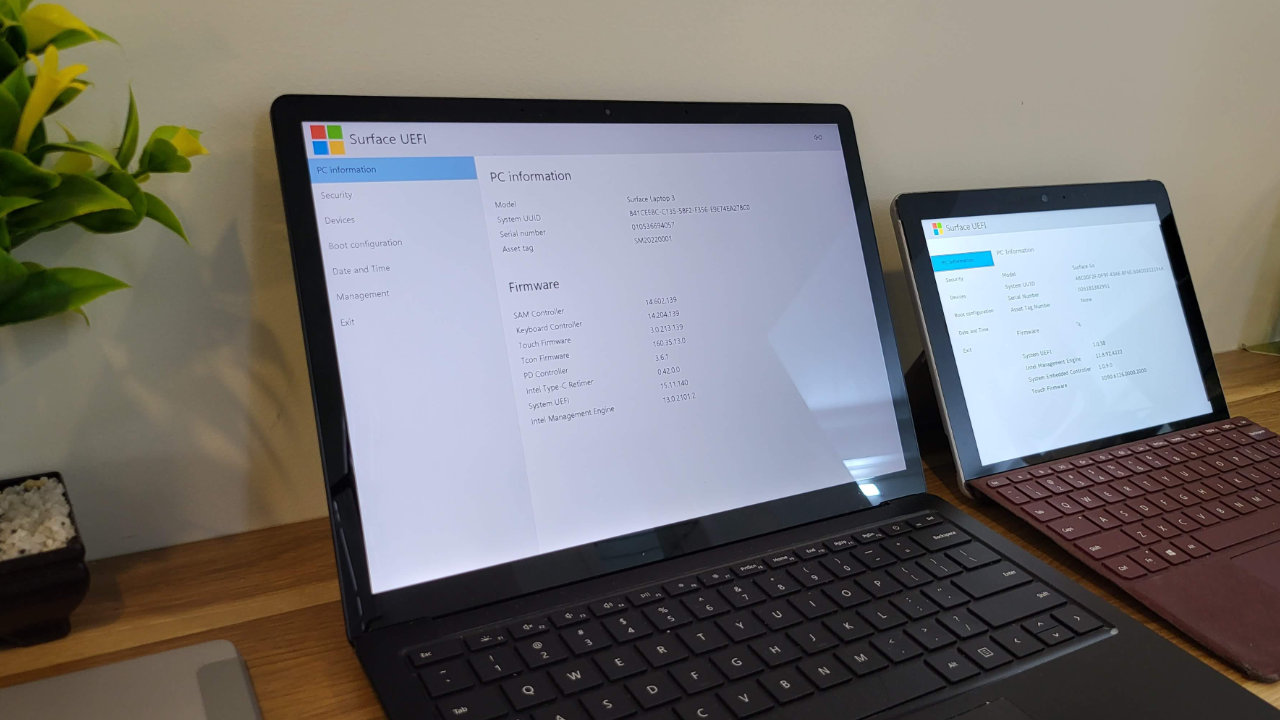
When your Surface booted into the Surface UEFI interface, check the Asset Tag value under the PC information tab.
FAQs
Check the following frequently asked questions that might answer questions you have.
1. How do you extract the Surface Asset Tag.zip file?
Starting from Windows 7, Microsoft Windows natively supports the .zip file format. To extract a zip file on Windows 10/11:
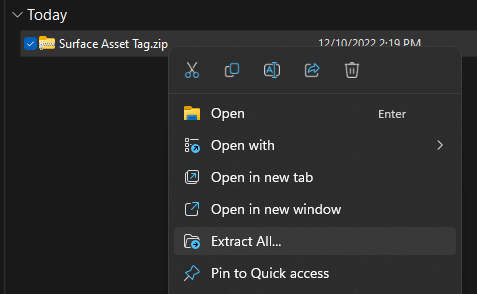
- Right-click on the “Surface Asset Tag.zip” file and select “Extract All…”.

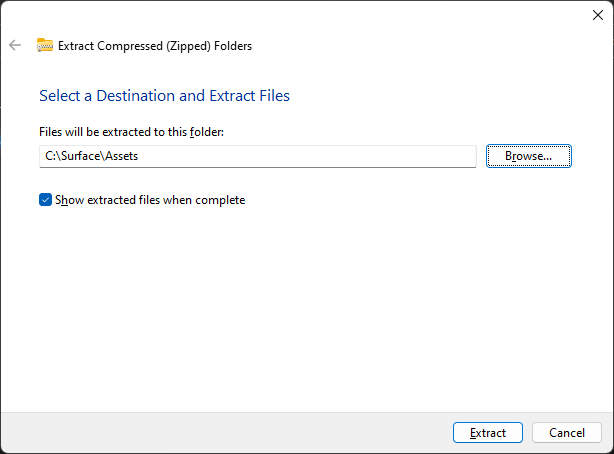
- Browse to a directory where you want to store the extracted files, and click Extract.

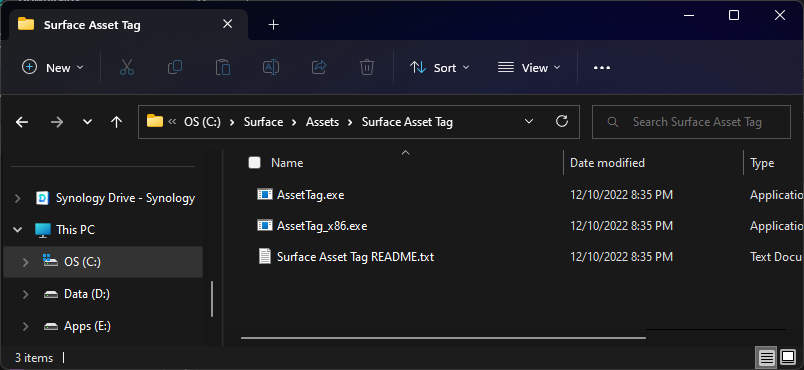
- When it finishes the extracting process, the extracted files will show in a new File Explorer window.

2. Why am I getting a “UEFI version does not support asset tag” message?
As mentioned, the Surface Asset Tag tool only works on supported Surface devices with UEFI version 3.9.150.0 or later. If you try to run the tool on a non-Surface machine, it will return the “UEFI version does not support asset tag” message.

Now you know how to manage the Surface asset tag number using the Surface Asset Tag tool. You also learned to boot into Surface UEFI to verify your assigned asset tag number. If you have any questions or problems with the steps detailed in this tutorial, please let me know in the comment below.


COMMENTS
Let us know what you think!
We appreciate hearing your thoughts, questions, and ideas about “How to Manage Asset Tag on Microsoft Surface Devices”.